Title: N4000A MP Monitor "crooked"
Post by: vom513 on February 05, 2025, 07:37:03 PM
Post by: vom513 on February 05, 2025, 07:37:03 PM
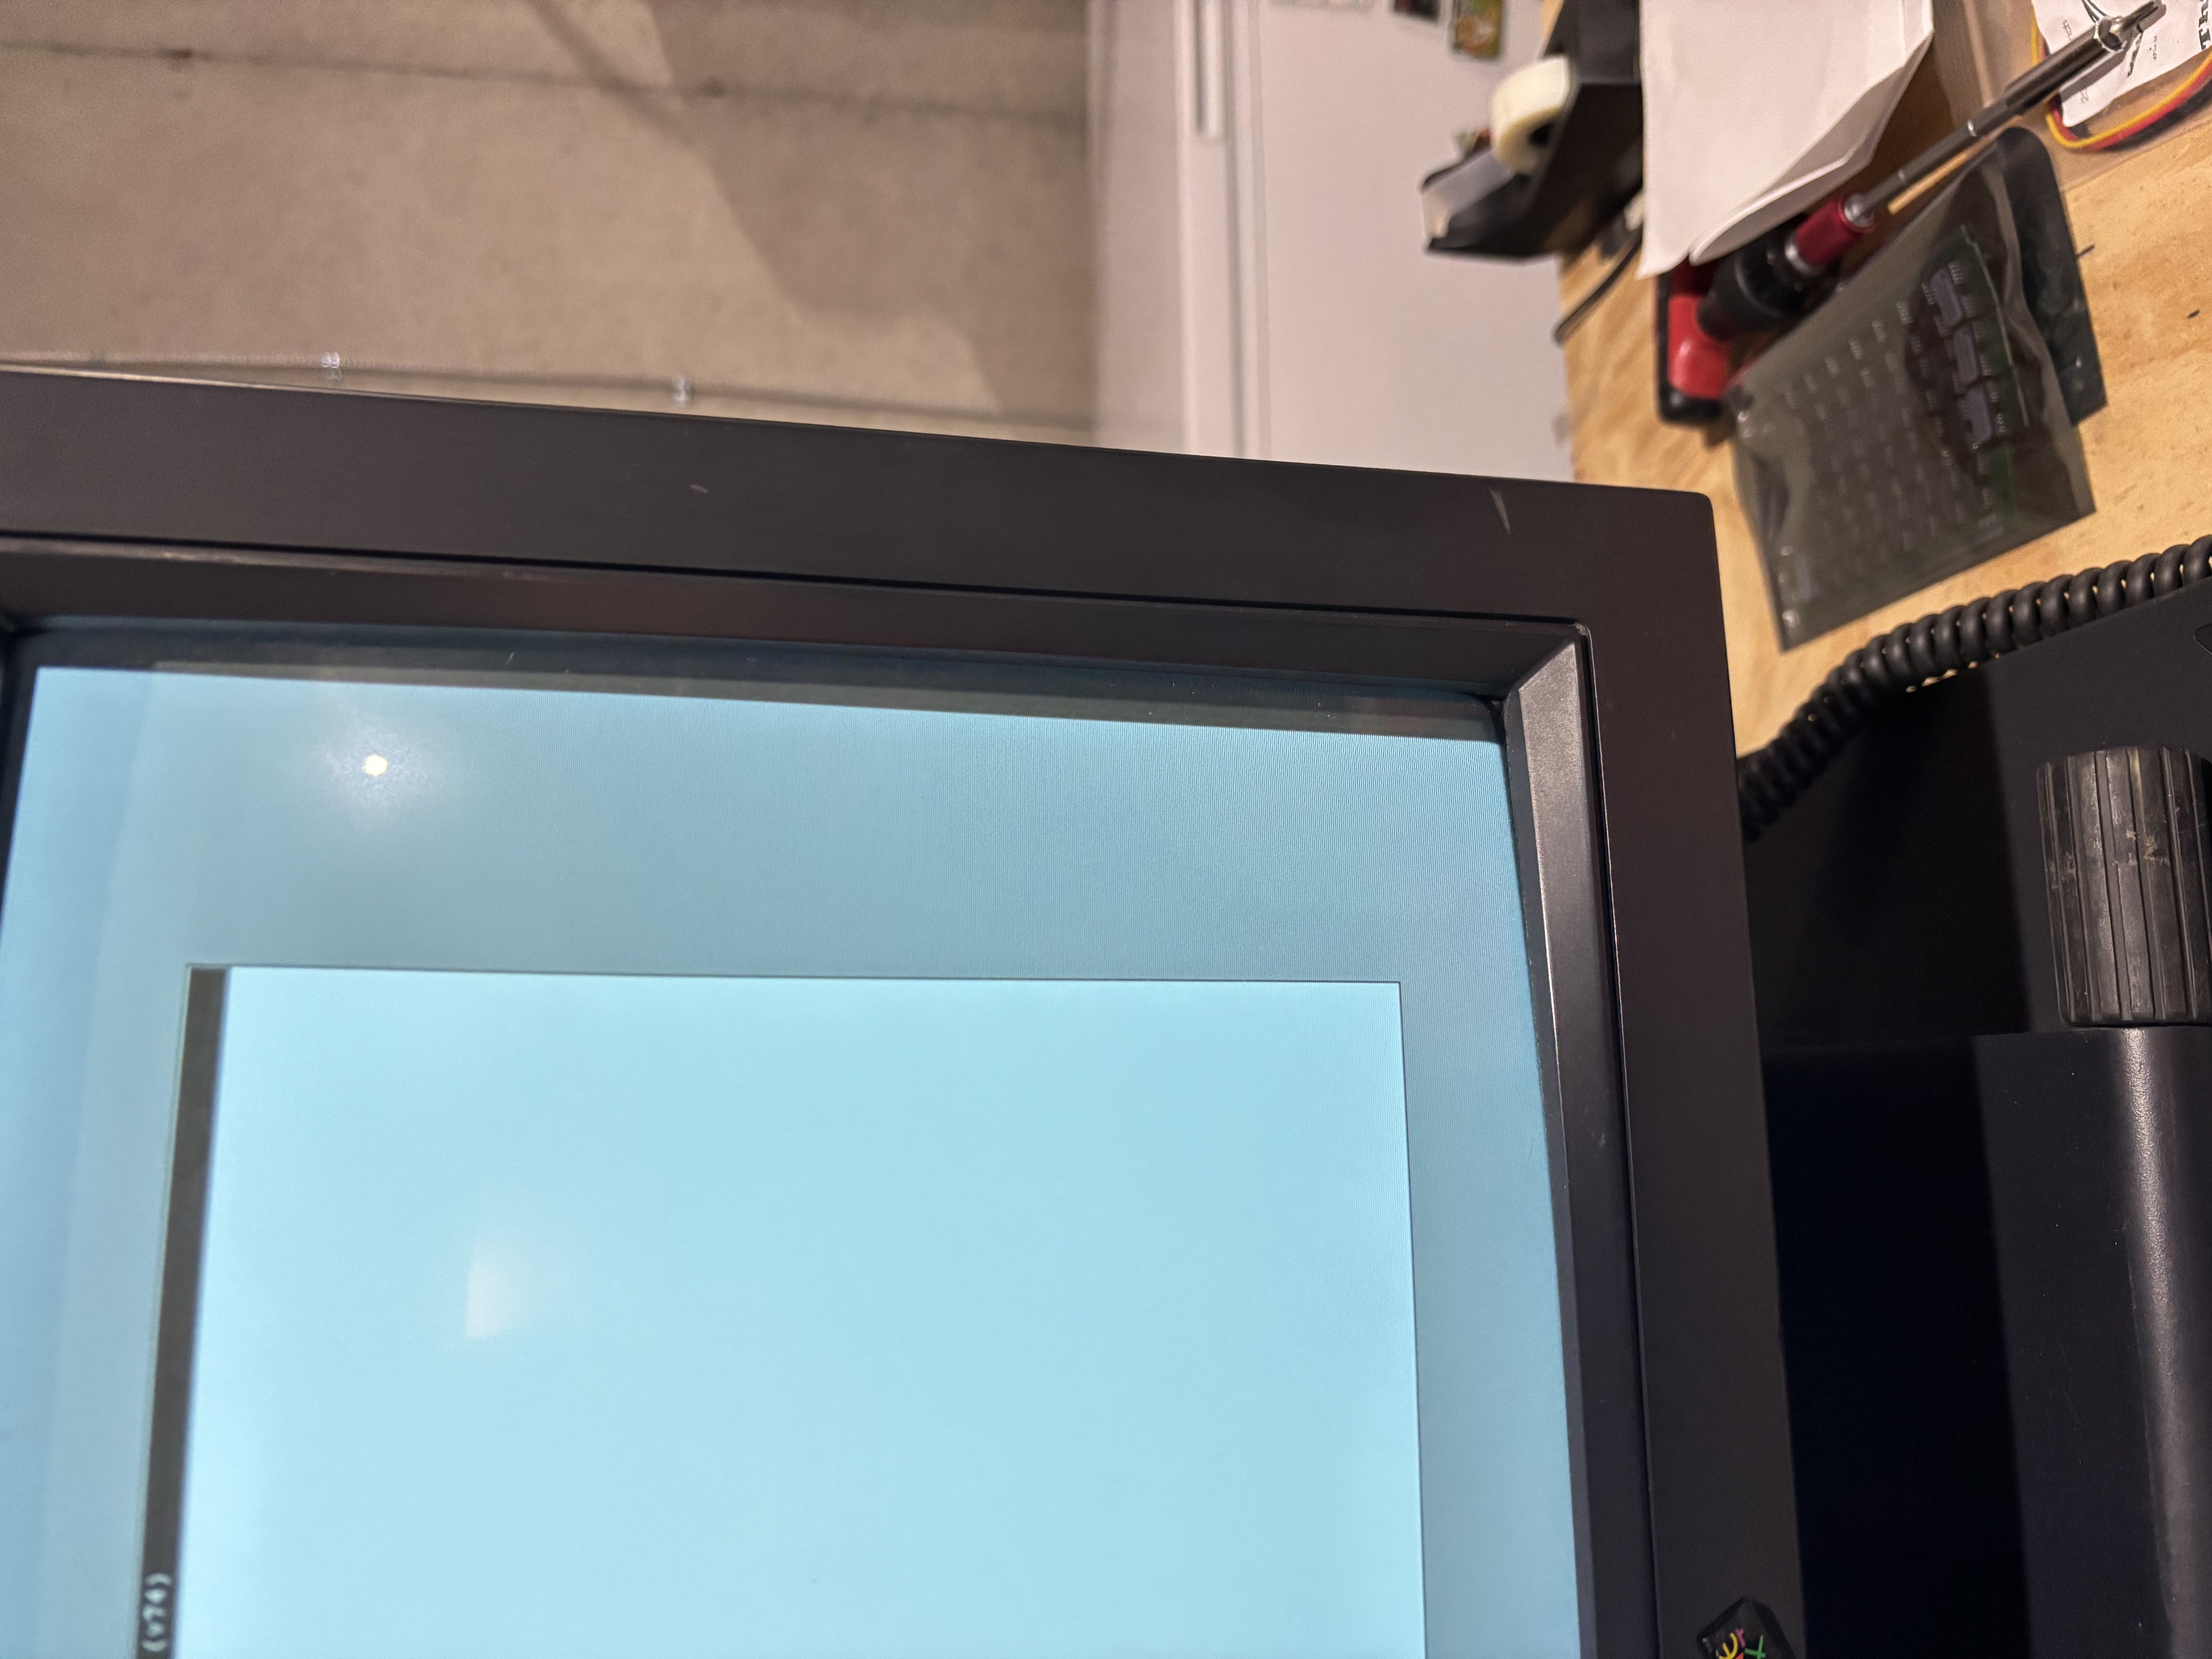
So this monitor wasn't in the greatest shape to begin with (not terrible, but not great).
I have disassembled it, cleaned it, and recapped it. I adjusted some of the knobs on the back (with a non-conducting driver of course) to eek some more brightness out of it.
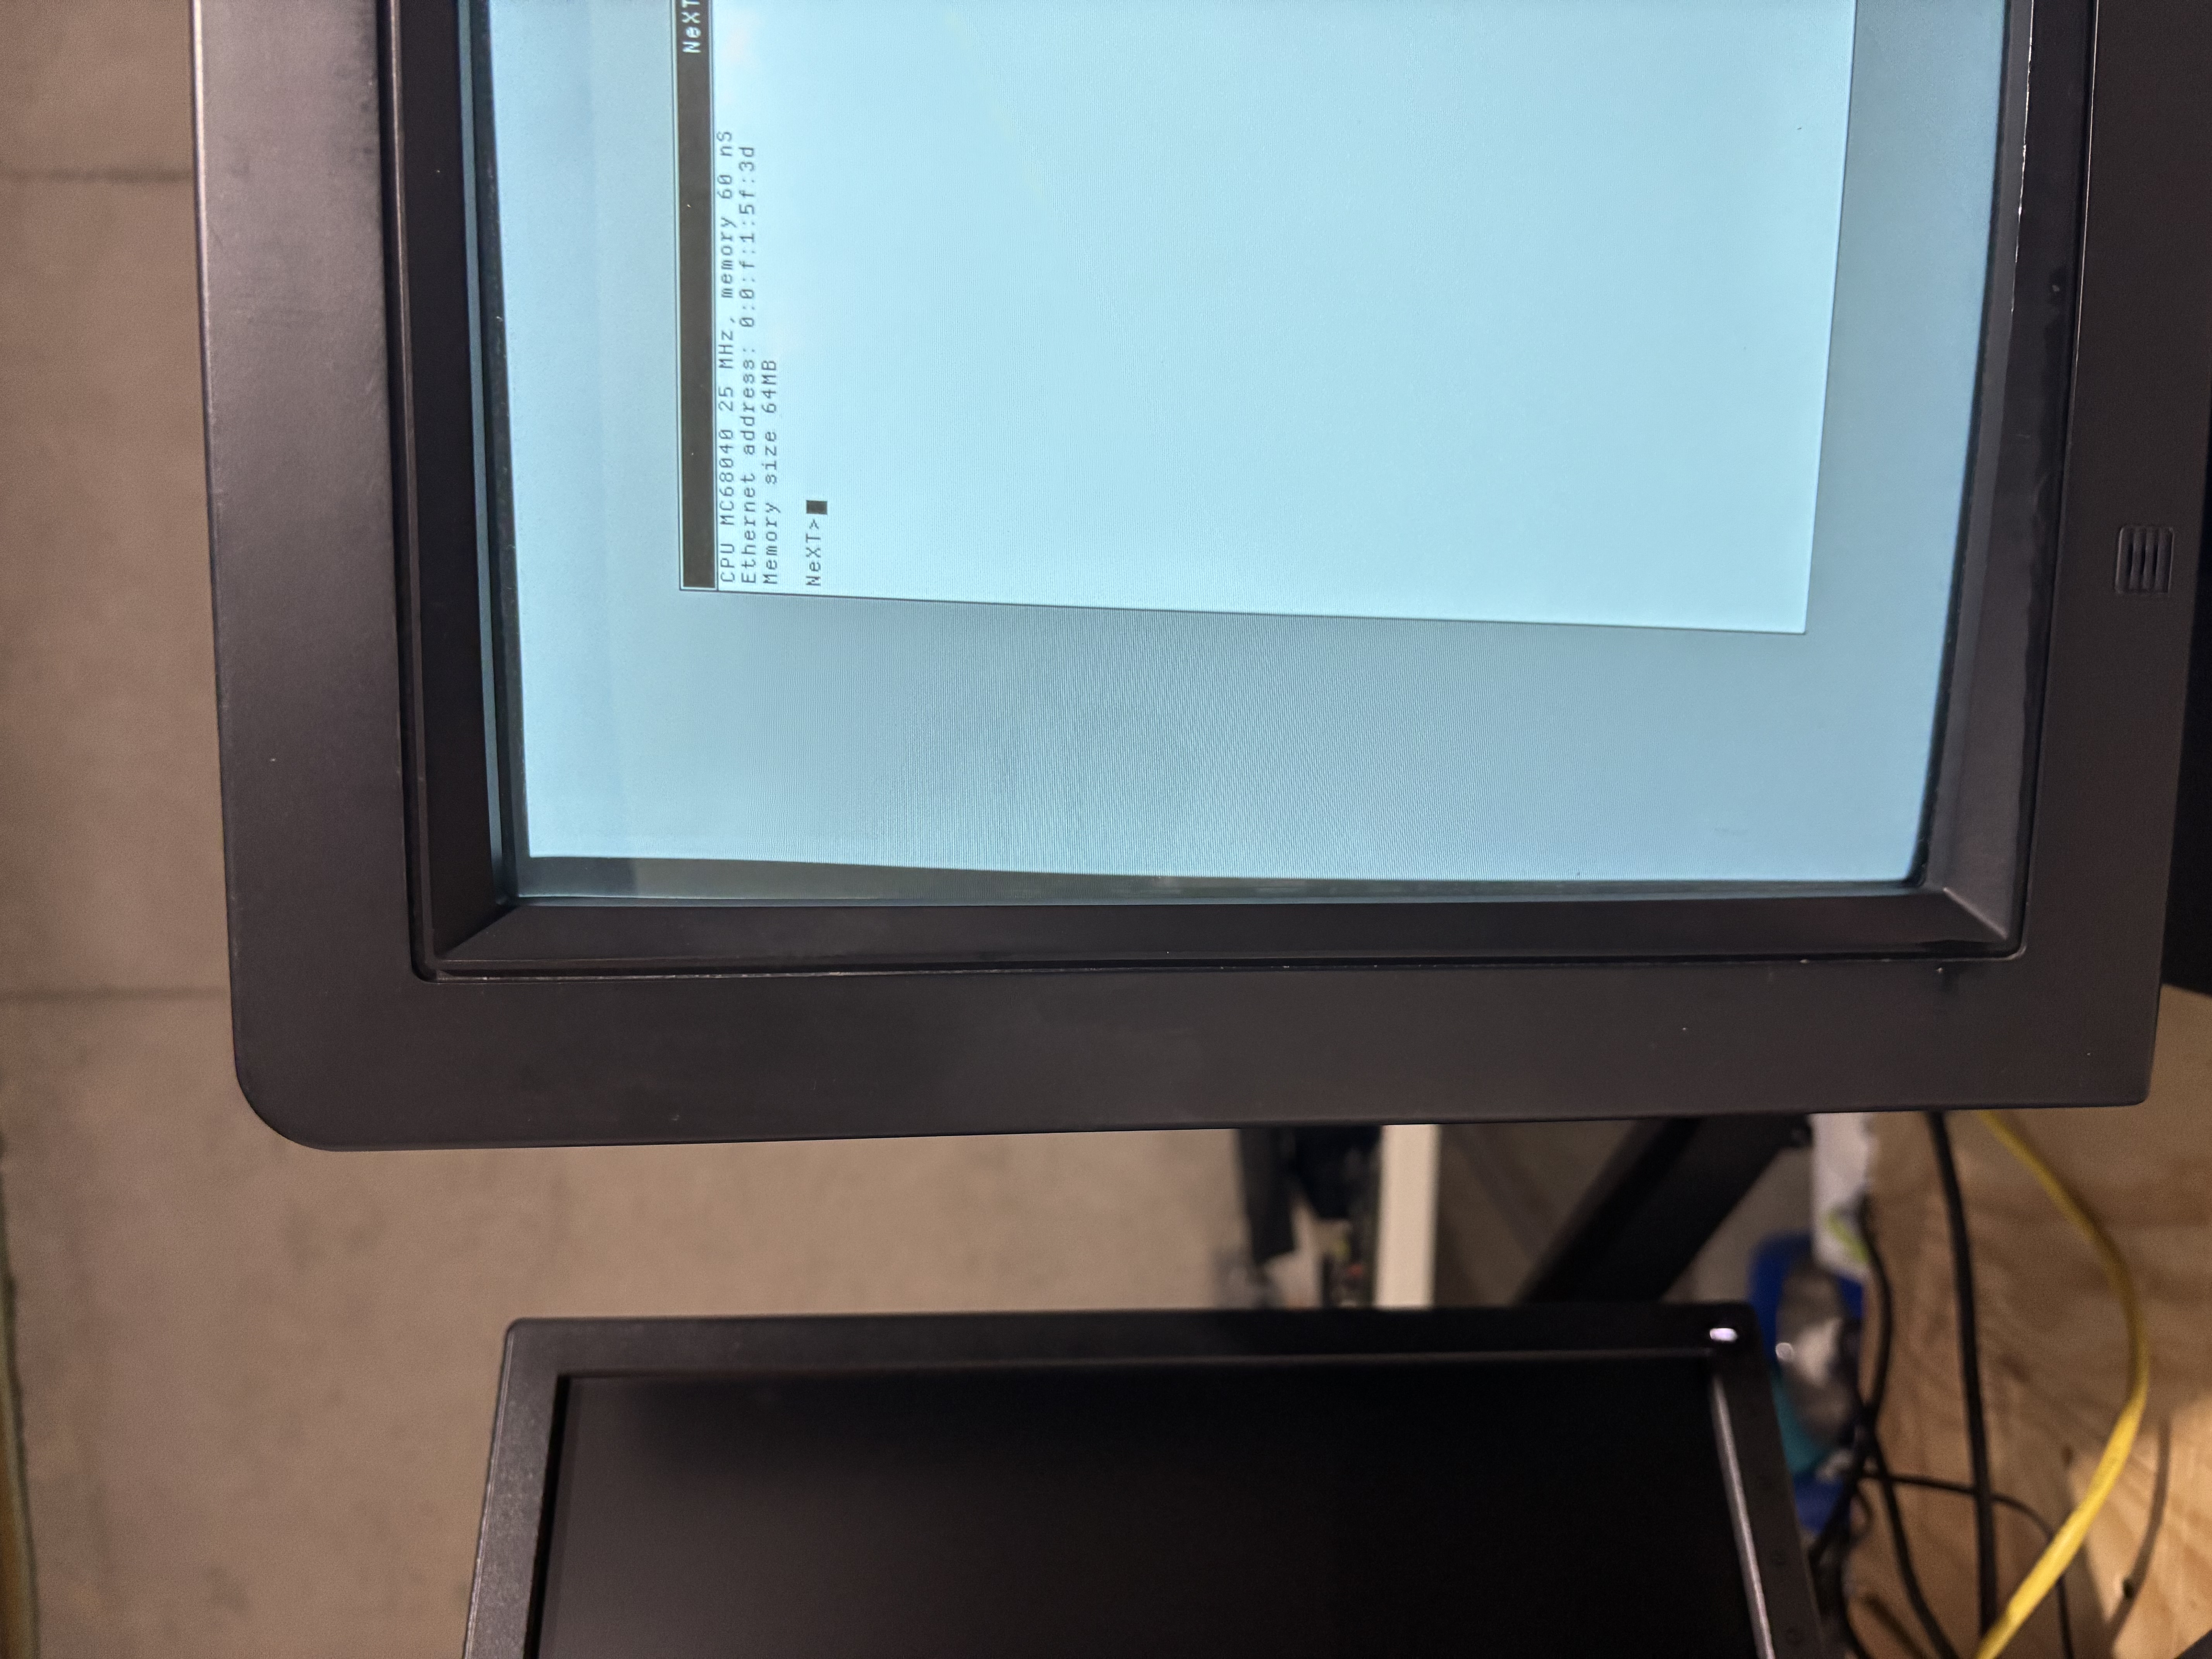
However - the image is "crooked".
Is there anything I can do to try to straighten this ? The pots on the back don't seem to influence this :(
PS: It was crooked before I recapped it. I don't think I made it any worse.
I have disassembled it, cleaned it, and recapped it. I adjusted some of the knobs on the back (with a non-conducting driver of course) to eek some more brightness out of it.
However - the image is "crooked".
Is there anything I can do to try to straighten this ? The pots on the back don't seem to influence this :(
PS: It was crooked before I recapped it. I don't think I made it any worse.
Title: Re: N4000A MP Monitor "crooked"
Post by: barcher174 on February 05, 2025, 08:49:37 PM
Post by: barcher174 on February 05, 2025, 08:49:37 PM
I think (and I am no expert) this is corrected by adjusting the copper coil connected to the tube. I would recommend asking in a general crt repair sub on reddit.
Title: Re: N4000A MP Monitor "crooked"
Post by: jdswain on February 11, 2025, 07:04:44 PM
Post by: jdswain on February 11, 2025, 07:04:44 PM
I used to work on Mac's back in the 80's, and if the display image was not level you could rotate the assembly at the back of the yoke to correct this. They were normally fixed in position with some kind of white adhesive, which you could easily break off. I did this a few times and it was quite easy.
However, the big issue is the voltages inside a CRT, even when disconnected from the power. You've probably heard this many times, but it's worth repeating because working on a CRT is vastly different from a safety point of view than working on a computer PCB.
There is an insulated connector near the middle of the tube with a big wire going to the power supply PCB. We would discharge the voltage from there before working on the rest of the computer. Most repair shops would have a special tool for this with some large capacitance to slow the discharge, but for a while we just had a screwdriver with a wire attached. We'd clip the wire on to a ground point and then slide the screwdriver into the insulated connector. Normally nothing would happen, but occasionally you'd hear it discharge and/or see a spark. Once that was done the whole thing was apparently safe. I wouldn't touch the back of the CRT without discharging it first, and you should probably read up on this more and get some advice before doing it yourself. I just had a quick look and there are plenty of guides on the internet, and even guides for making a discharge tool as I described.